Stovetop Pot Roast Recipe – Easy One-Pot Comfort Food
Table of Contents
Key Takeaways
Introduction to Pot Roast Stove Top Cooking
Understanding the Basics of One-Pot Comfort Food
One-pot cooking is all about simplicity. By combining ingredients like beef, onions, and vegetables in a single pot, you can create a meal that’s both flavorful and easy to prepare. The stovetop method is particularly effective for dishes like pot roast, as it allows for slow simmering over several hours. This process tenderizes the meat and infuses the dish with deep, savory flavors.
Historically, pot roast was a way to make tougher cuts of meat more palatable. Today, it’s a beloved tradition that connects us to our roots while fitting seamlessly into modern life. Using a stove top ensures even cooking and makes it easy to monitor the dish as it simmers.
Why You Should Try Pot Roast on the Stove Top
There are several reasons to choose the stovetop for your next pot roast. First, it’s incredibly convenient. You don’t need special equipment—just a sturdy pot and your stove. Second, the slow simmering process enhances the flavor of the meat and vegetables, creating a dish that’s rich and satisfying.
Finally, one-pot cooking means less cleanup. With everything cooked in a single pot, you can spend less time washing dishes and more time enjoying your meal. Whether you’re new to cooking or a seasoned pro, this method is a game-changer.
| Method | Benefits |
|---|---|
| Stovetop | Even cooking, easy monitoring, rich flavor |
| Oven | Hands-off cooking, consistent temperature |
| Slow Cooker | Set-and-forget convenience, tender results |
Ingredients and Preparation Essentials
Creating a delicious meal starts with the right ingredients and proper preparation. A well-made dish relies on quality components and careful steps to bring out the best flavors. Let’s break down what you’ll need and how to prepare everything for a perfect result.
Key Ingredients and Their Roles
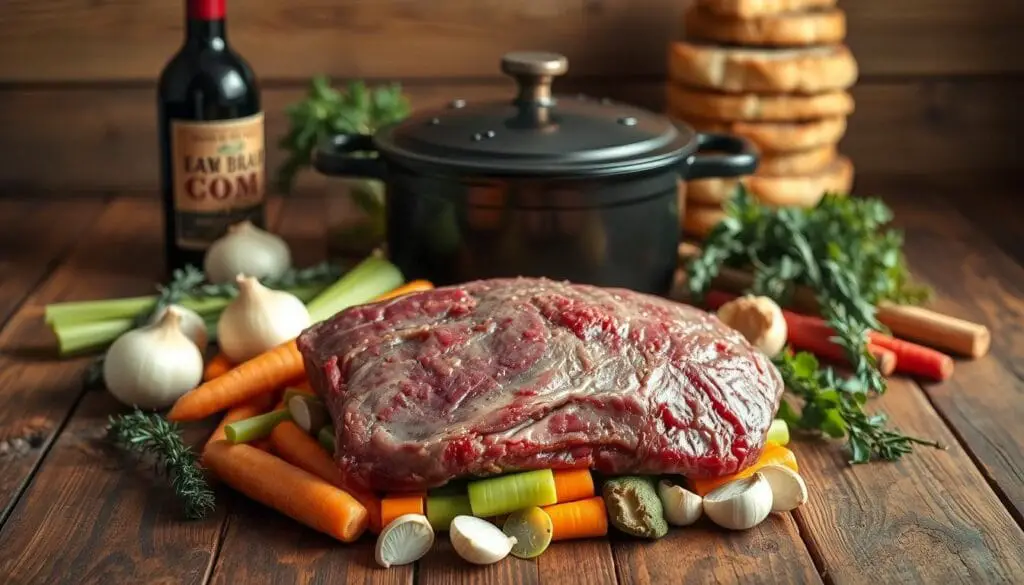
Every ingredient in this recipe plays a crucial role in building flavor and texture. Start with a 4 to 5-pound chuck roast, a well-marbled cut that becomes tender when slow-cooked. Vegetables like carrots, potatoes, and onions add sweetness and heartiness to the dish.
For seasoning, you’ll need salt, pepper, and a clove garlic to enhance the savory notes. A splash of red wine deepens the flavor, while oil ensures the meat browns beautifully. These elements work together to create a balanced and satisfying meal.
Prepping Your Beef, Vegetables, and Spices
Begin by patting the beef dry with paper towels. This helps it sear properly. Season generously with salt and pepper. Let the meat sit at room temperature for about 30 minutes before cooking. This ensures even cooking and better browning.
Next, prepare the vegetables. Peel and cut carrots into 2-inch slices. Dice potatoes into even chunks for uniform cooking. Chop onions and mince the clove garlic for added flavor. Properly prepped vegetables ensure they cook evenly and absorb the rich flavors of the dish.
Finally, measure out your liquids. You’ll need red wine for deglazing and water or broth to create a flavorful cooking liquid. Having everything ready before you start cooking makes the process smooth and efficient.

| Ingredient | Amount | Purpose |
|---|---|---|
| Chuck Roast | 4-5 lbs | Main protein, becomes tender when slow-cooked |
| Carrots | 6-8 | Adds sweetness and texture |
| Potatoes | 6 | Provides heartiness |
| Red Wine | 1/2 cup | Deepens flavor |
| Vegetable Oil | 2 tbsp | Helps with browning |
Step-by-Step Cooking Process
The secret to a flavorful dish lies in the cooking process. By following these steps, you’ll create a meal that’s rich in taste and tender in texture. Let’s break it down into two key phases: browning the meat and simmering it to perfection.
Browning the Meat for Maximum Flavor
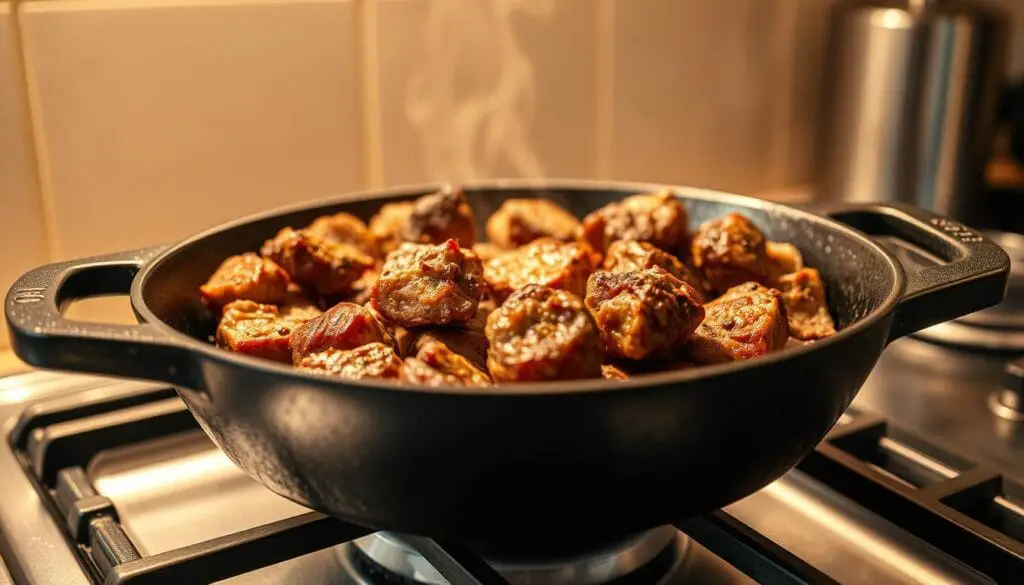
Start by heating 2 tablespoons of oil in a heavy pot or Dutch oven over medium-high heat. Pat the meat dry with paper towels and season it generously with salt and pepper. Carefully place the meat in the pot and let it sear for about 3-4 minutes on each side. Avoid moving it too early—this ensures a deep, caramelized crust that locks in flavor.

Once the meat is evenly browned, remove it from the pot and set it aside. This step is crucial for building a rich base for your dish. The browned bits left in the pot will add depth to the gravy later.
Simmering Techniques for Tender Results
Next, add chopped onions and minced clove garlic to the pot. Sauté them for 2-3 minutes until fragrant. Deglaze the pot with ½ cup of red wine, scraping up any browned bits. Return the meat to the pot and add enough water or broth to cover about ¾ of the meat.
Bring the liquid to a gentle boil, then reduce the heat to low. Cover the pot with a sturdy lid and let it simmer for 2 to 3 hours. This slow cooking process breaks down the collagen in the meat, making it incredibly tender.
After 2 hours, add your prepared vegetables—carrots and potatoes—to the pot. Continue to cook for another 45 minutes until the vegetables are soft and the meat is fork-tender. Patience is key here; low and slow is the way to go.
“The slower you cook it, the more flavor it develops. Don’t rush the process.”
By following these steps, you’ll achieve a dish that’s bursting with flavor and melts in your mouth. The combination of proper browning and gentle simmering ensures a meal that’s both satisfying and memorable.
Mastering “pot roast stove top” Techniques
Perfecting your cooking technique can elevate a simple dish to something extraordinary. When it comes to creating a tender and flavorful meal, maintaining the right temperature and liquid levels is crucial. Here’s how to master these essential skills for the best results.
Maintaining Ideal Temperature and Liquid Levels
To achieve a tender and juicy meal, start by keeping the heat low and steady. A consistent simmer ensures the beef cooks evenly without drying out. If the liquid evaporates too quickly, add a splash of water or broth to keep the meat moist.
Using a tight-fitting lid is key. It traps steam, which helps maintain moisture and enhances the dish’s flavor. If your lid doesn’t fit snugly, cover the pot with aluminum foil before placing the lid on top.
- Monitor Liquid Levels: Check the pot every 30 minutes to ensure the liquid covers about ¾ of the meat. Add more if needed.
- Adjust Heat: On a gas stove, use a low flame. For electric stoves, keep the burner on the lowest setting to avoid scorching.
- Use Fat Wisely: The natural fat in the beef enriches the dish. Trim excess fat before cooking, but leave some for added moisture and flavor.
By following these techniques, you’ll create a dish that’s not only tender but also packed with rich, savory flavor. Whether you’re using a gas or electric stovetop, these tips ensure your meal turns out perfectly every time.
Alternative Methods and Cooking Tips
Experimenting with different cooking methods can transform your meals. While the stovetop is a classic choice, there are other ways to achieve tender and flavorful results. Whether you prefer the convenience of a slow cooker, the speed of a pressure cooker, or the even heat of an oven, these alternatives offer flexibility without compromising taste.
Exploring Oven, Slow Cooker, and Pressure Cooker Options
Using an oven is a hands-off approach that ensures consistent results. Preheat your oven to 325°F and place your ingredients in a dutch oven. Cover it tightly and let it cook for 3 to 4 hours. This method is perfect for those who want to set it and forget it.
For a slow cooker, add your beef broth, red wine, and vegetables. Cook on low for 6 to 8 hours or on high for 4 hours. This method is ideal for busy days when you want a meal ready when you get home.
If you’re short on time, a pressure cooker can deliver tender results in under an hour. Set it to high pressure and cook for 65 minutes. This method locks in flavor and reduces cooking time significantly.
Tips for Adapting the Recipe
When using alternative methods, handle ingredients like carrots and potatoes carefully to avoid overcooking. Cut them into larger chunks to maintain their texture. For added depth, use a cup of red wine and 2 cups of beef broth as your cooking liquid.
“The key to tender meat is low and slow cooking, no matter the method.”
With these tips and techniques, you can adapt your favorite recipe to suit your kitchen setup. Whether you’re using an oven, slow cooker, or pressure cooker, the result will be a delicious and satisfying meal.
Conclusion
Bringing a classic dish to life at home is easier than you think. This recipe combines simple ingredients and a straightforward process to deliver a meal that’s rich in flavor and deeply satisfying. With just a few steps, you can create tender meat and perfectly cooked vegetables that feel like a warm hug on a plate.
Remember, the key to success lies in proper seasoning and a slow, steady simmer. This ensures the meat becomes tender and the flavors meld beautifully. Plus, with nutrition in mind, each serving offers a balanced mix of protein, fiber, and essential vitamins.
Feel free to experiment with this dish. Swap ingredients or try alternative cooking methods to make it your own. Whether you’re cooking for family or friends, this meal is sure to impress. Give it a try and share your experience—we’d love to hear how it turned out!


